Soft Idli Recipe – Fluffy South Indian Idli at Home
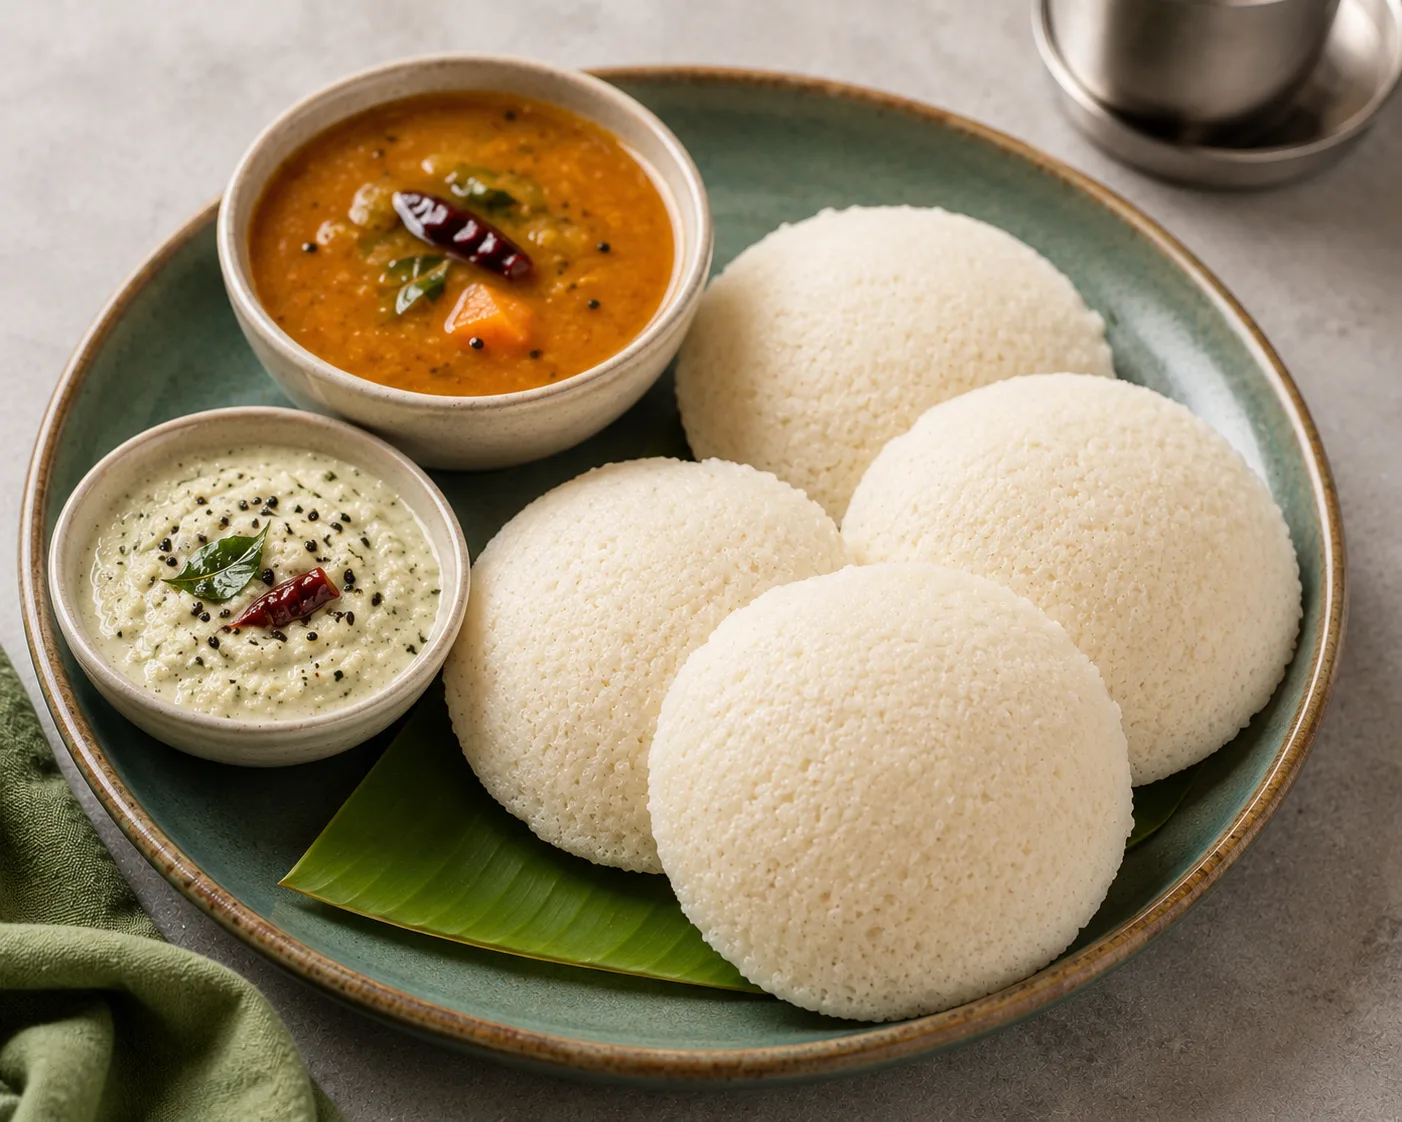
Soft, fluffy idli made from fermented rice and urad dal batter — a classic South Indian breakfast served with coconut chutney and sambar.
View Recipe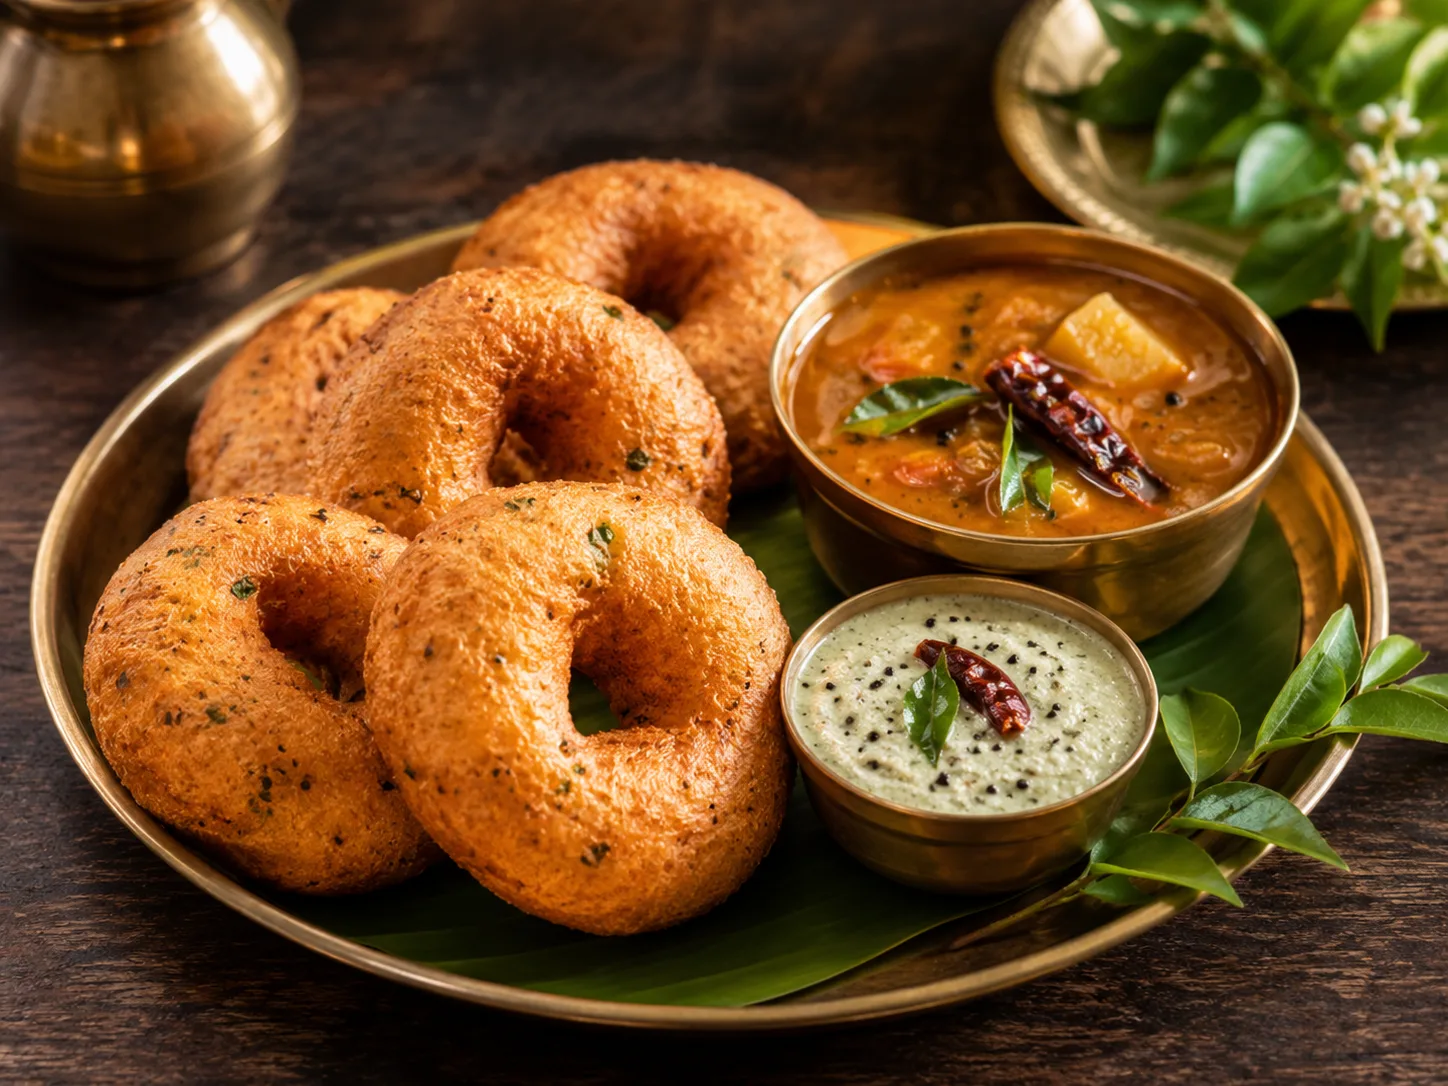
Make crispy and fluffy Medu Vada at home with urad dal, curry leaves, ginger and spices. Perfect with coconut chutney and hot sambar.
Medu Vada is a classic South Indian breakfast and snack made with urad dal. These savory lentil fritters are crispy on the outside, soft and fluffy inside, and traditionally shaped like a small doughnut with a hole in the center.
The key to making perfect Medu Vada is using a thick and airy urad dal batter. The soaked dal is ground with very little water, then mixed with aromatic ingredients such as ginger, green chilies, curry leaves and black pepper. The batter is shaped and deep-fried until golden and crisp.
Serve hot Medu Vada with fresh coconut chutney and flavorful sambar for a traditional South Indian meal.
Follow along step-by-step.
Wash the urad dal thoroughly under running water until the water looks mostly clear. Transfer the washed urad dal to a large bowl. Add enough water to completely cover the dal. Soak it for about 4 hours. Proper soaking helps the dal grind smoothly and makes the batter lighter.
After soaking, drain all the water completely. Let the soaked urad dal sit in the strainer for a few minutes. Removing excess water is important because too much water can make the batter thin and difficult to shape.
Transfer the soaked urad dal to a mixer grinder or wet grinder. Start grinding without adding much water. Add cold water only a little at a time when needed. Grind until you get a smooth, thick and fluffy batter. The batter should be thick enough to hold its shape when placed on your palm. Using too much water can make the vadas absorb more oil.
Transfer the ground batter to a large mixing bowl. Whisk the batter with a spoon, spatula or clean hand for 2 to 3 minutes. This helps incorporate air and makes the batter lighter and fluffier.
Add the chopped ginger to the batter. Add finely chopped green chilies. Add chopped curry leaves. Add cumin seeds and crushed black pepper. Add chopped coconut and coriander leaves if using. Add asafoetida and salt. Mix everything gently until the ingredients are evenly distributed.
The batter should remain thick, soft and fluffy. If the batter feels too thin, mix in a small amount of rice flour or rava. If the batter feels extremely thick, sprinkle in a very small amount of water and mix again. Do not make the batter runny.
Pour enough oil into a deep kadai or frying pan. Heat the oil over medium heat. To check whether the oil is ready, drop a tiny amount of batter into the oil. The batter should rise gradually to the surface without browning too quickly.
Keep a small bowl of water next to you. Dip both hands in the water. Wet hands prevent the sticky batter from sticking while shaping the Medu Vada.
Take a small portion of batter in your wet palm. Gently flatten it into a round shape. Use your thumb to make a small hole in the center. The hole helps the vada cook more evenly from the inside.
Carefully slide the shaped vada into the hot oil. Do not overcrowd the pan. Fry only a few vadas at one time so they have enough space to cook evenly.
Fry the Medu Vadas over medium heat. Turn them occasionally using a slotted spoon. Cook until both sides become evenly golden brown and crispy. Medium heat helps the vadas cook through without becoming too dark on the outside.
Remove the fried Medu Vadas using a slotted spoon. Place them on a plate lined with absorbent paper. Allow the excess oil to drain for a few moments.
Serve the Medu Vadas immediately while they are hot and crispy. Serve with fresh coconut chutney and hot sambar for the classic South Indian combination.
Use fresh urad dal for the best texture.
Grind the dal with very little water.
Whisk the batter well to make it light and airy.
Keep the batter thick so the vadas are easier to shape.
Wet your hands before shaping every vada.
Fry over medium heat for a crispy outside and properly cooked center.
Test one small vada first to check the batter consistency and oil temperature.
If the batter becomes too thin, add a small amount of rice flour or rava.
Medu Vada tastes best when served fresh and hot.
Store leftover cooked vadas in an airtight container in the refrigerator for up to 2 days.
For longer storage, freeze the cooked vadas in a freezer-safe container.
Reheat in an oven or air fryer to restore crispness.
Avoid reheating in a microwave if you want to keep the exterior crispy.
Serve Medu Vada with fresh coconut chutney.
Serve with hot South Indian sambar.
Enjoy as part of a South Indian breakfast platter with idli or dosa.
Serve as an evening snack with a hot cup of filter coffee or tea.
Medu Vada can also be served with rasam or soaked in sambar for a softer variation.
Medu Vada is a traditional vegetarian South Indian recipe.
The soaking time can vary depending on the type and freshness of the urad dal.
A wet grinder can produce an especially light and fluffy batter, but a mixer grinder can also be used.
For the best crispy texture, fry and serve the vadas immediately.
No reviews yet. Be the first to review this recipe!
The batter may be too thin, or the oil may not be at the correct temperature. Use a thick batter and fry over medium heat.
The batter may not have been ground or whisked enough. Grind the urad dal until smooth and whisk the batter to make it light and airy.
Yes, but the traditional hole helps the vada cook more evenly.
Yes. The ground batter can be refrigerated for a short period. Mix it gently and add the final seasonings before frying.
Medu Vada is traditionally served with coconut chutney and hot sambar.
Yes. The classic recipe can be made without onions.
Soft, fluffy idli made from fermented rice and urad dal batter — a classic South Indian breakfast served with coconut chutney and sambar.
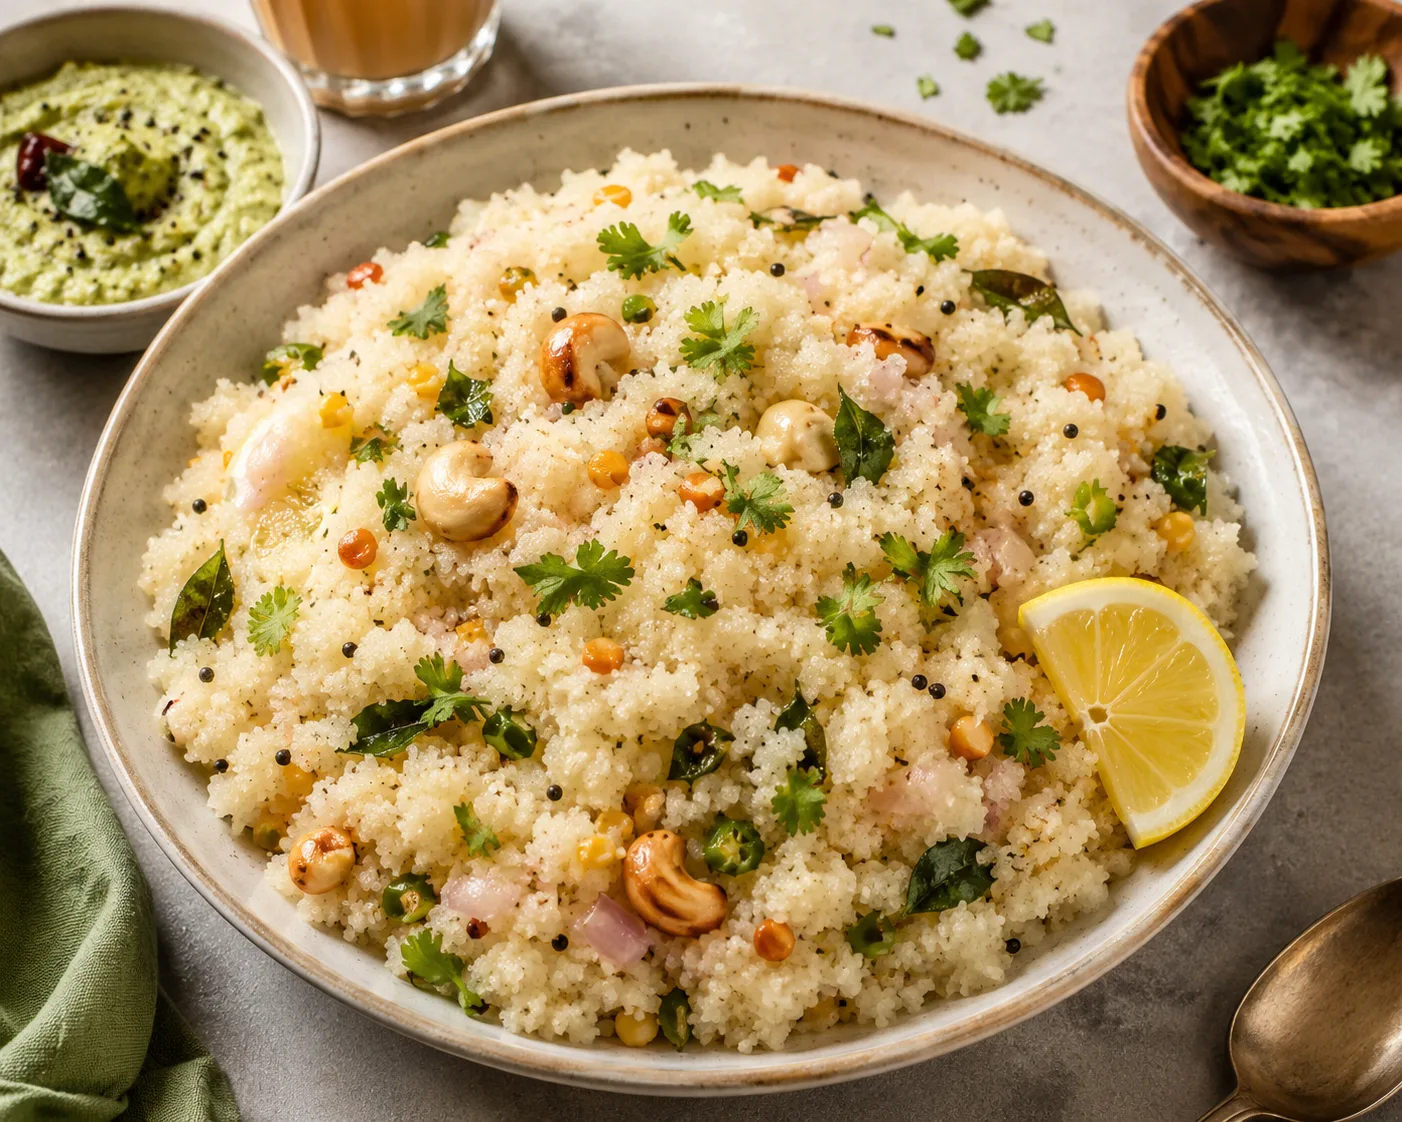
View RecipeThis easy Upma recipe is a quick and tasty South Indian breakfast made with rava (semolina), onions, curry leaves, green chili and simple spices. It is soft, flavorful and ready in about 25–30 minutes.
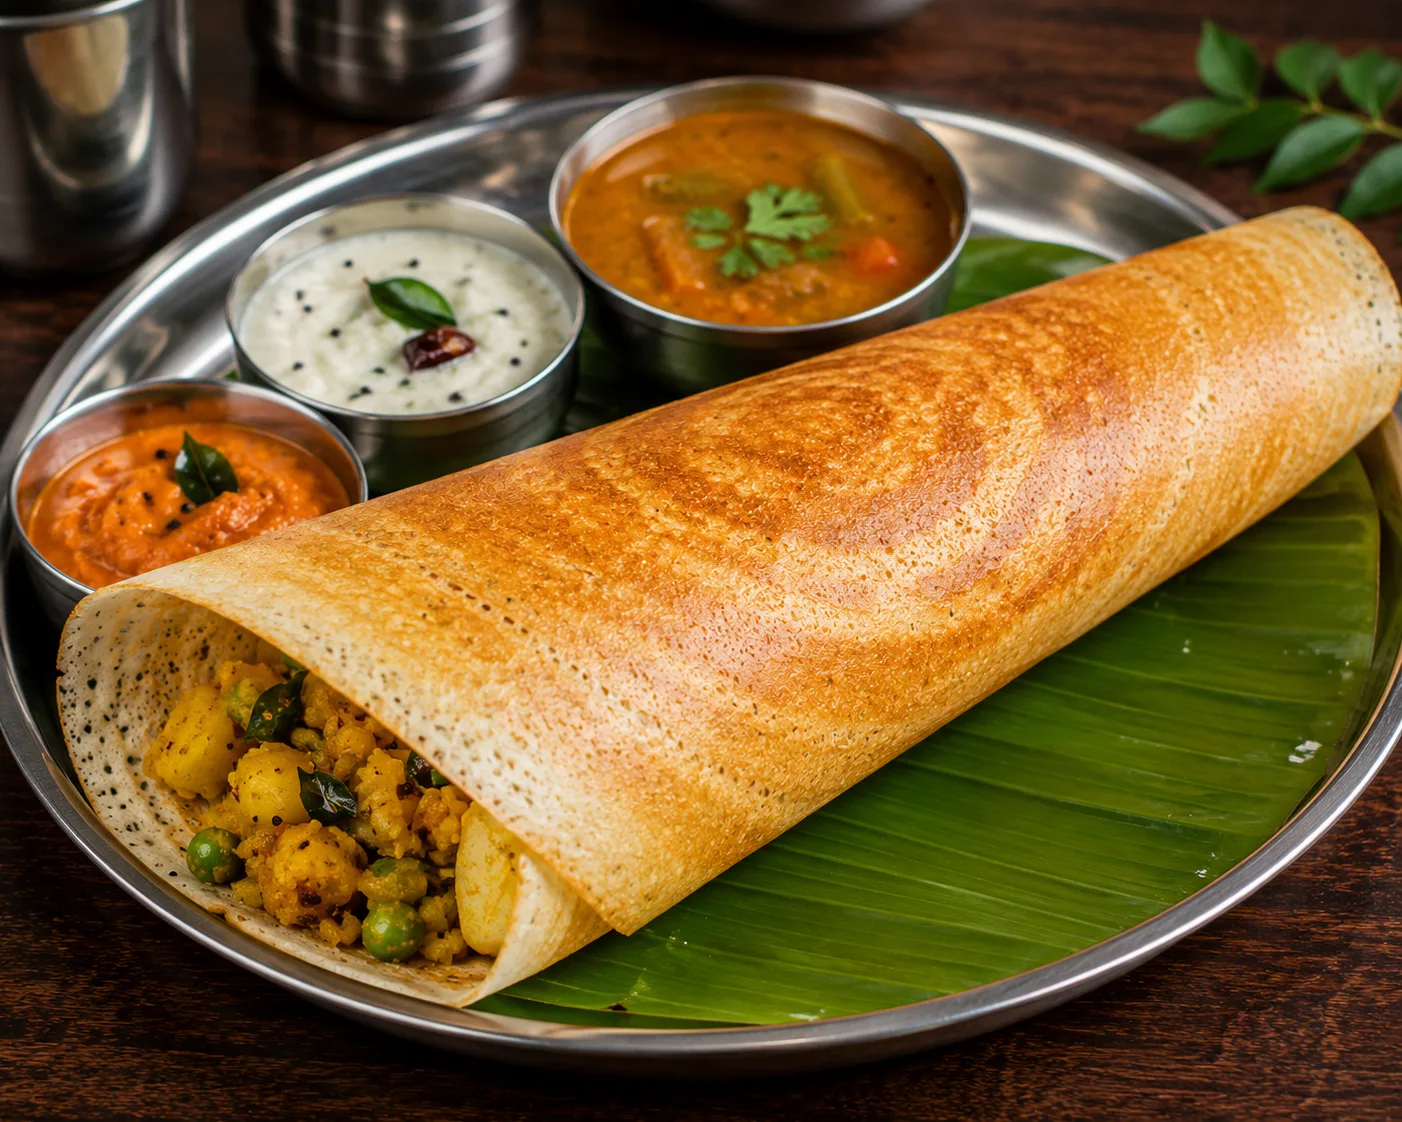
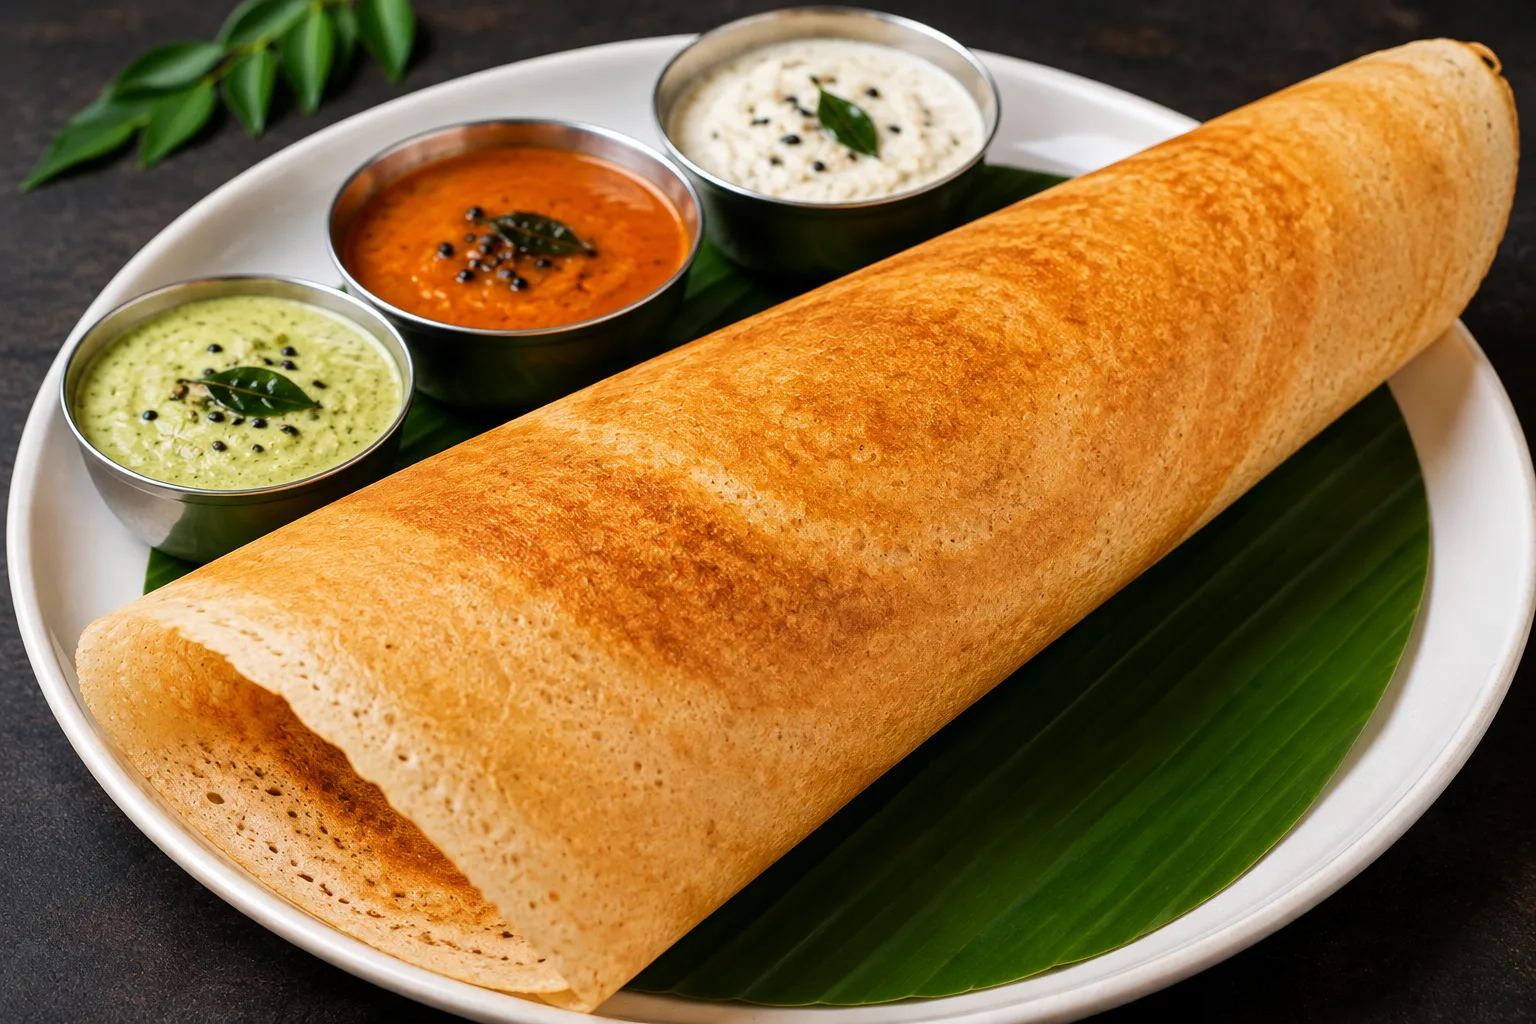
View RecipeThin, crisp fermented rice-and-lentil crepes with a clean, lightly tangy flavour.
View Recipe